Picture

Picture

Tuesday, June 25, 2013

Vintage Birthday

Our challenge this fortnight at Crafting With Dragonflies is vintage/shabby chic. Now I don't make a lot of cards in this style, but I love all the elements of it. We have 2 sponsors this week, Eureka Stamps and A Day For Daisies, which means we will have 2 prize winners as well as a top 3! Be sure to follow the rules to be eligible to win (be a follower, no backlinking, follow the theme) and I look forward to stopping by!
I chose Quiet Fairy from A Day For Daisies for my card. I made this for my sister-in-law's 45th birthday. We even made it to Saskatoon to celebrate with her. The scroll work background was a Silhouette cut file cut from patterned paper. Gerbera daisies are her favorite flower so I used the daisy pattern paper, cut in a heart shape, and stitched around it, behind my image. The image frame was another Silhouette file that I also added stitching to. For embellishments I used a tulle rose found at my LSS, pearl pins, lace ribbon, a copper colored metal heart and half backed pearls in the corners. All very vintage/shabby chic elements. My fairy was colored with Prismacolor pencils and I used Liquid Pearls Platinum Pearl on her wings.


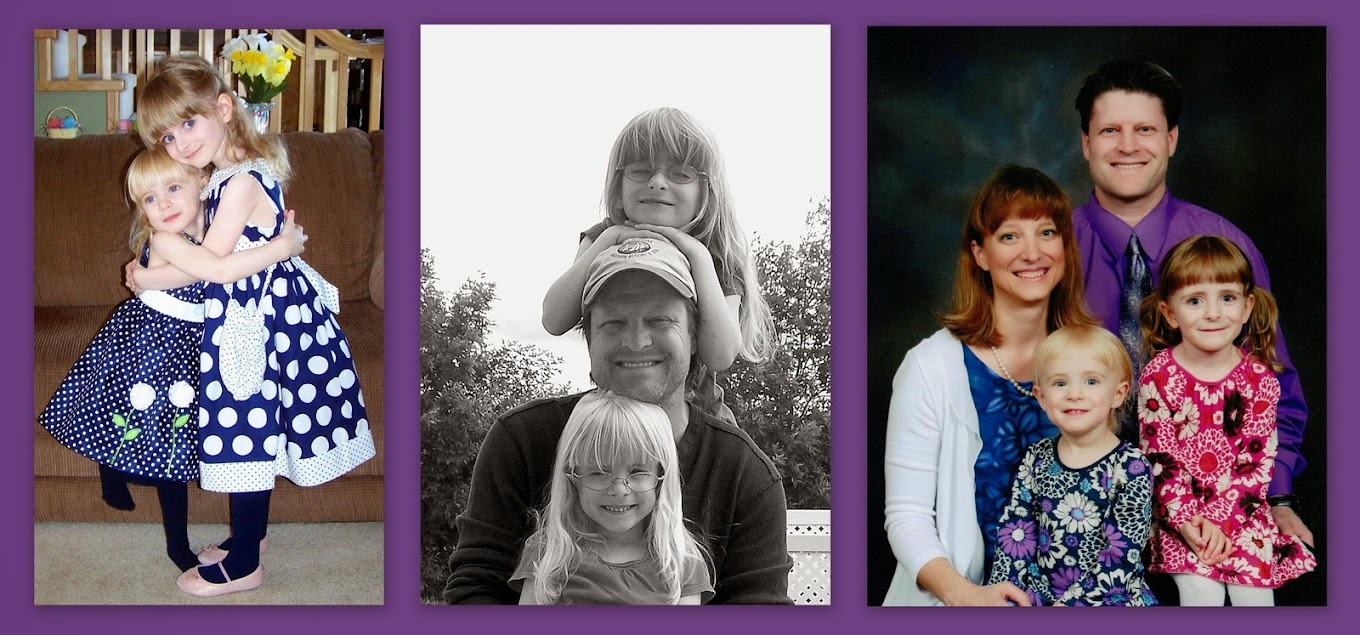
Aunty and the girls!
I'd like to share my card at:
Paper Crafting Journey pearls and swirls, closes June 26,
A Day For Daisies use something from nature, closes June 28,
Pile It On Challenge vintage, closes June 30,
The Squirrel and the Fox use something metal, closes June 30,
Hobby Cutz anything with H, half pearls, hearts, hatpins, closes July 7th

Wednesday, June 19, 2013

Teacher Appreciation

Sometimes I feel like I could write a PinFail blog. Other times...is that Martha calling? This is one of those Martha moments, I am always shocked (and happy) when a crafty moment works out well. This was for Kaylee's Kindergarten Teacher. I of course got the idea from Pinterest. I bought a straight sided vase. Then I went to the dollar store and bought some decorative pencils. I needed 4 packs of 12 pencils. I had a few left over but how many you need will depend on the size of your container. To test that I had enough before I started sticking the pencils down, I took an elastic band and put it around the middle of the vase. Then I slipped the pencils in underneath it all the way around. This was supposed to also ensure that there would be no gaps at the end (more on that later). Everything looked good so a-sticking I went. Now some people just use the elastic band, put a ribbon over it and call it complete. The advantage to this is that the Teacher can use the pencils. My issue with this was that the pencils all have a lean to them so I went with a stick-em method.
First I placed a piece of painter's tape up the length of my vase to act as straight line/guide for my first pencil. I used my table as the bottom guide. The carpet was used just to take the photo so you can't see the rest of the messy living room. Then I hot glued my pencil and tried to place it on my vase. By the time I got the pencil on the glue had cooled. Second try I put glue on the vase and stuck my pencil on. But when I wiggled the pencil into place it popped off. Repeat first and second try with glue gun. Then I got out the 1/4" Skor Tape. Perfect! It's clear (shows clear through the inside of the vase too), and you can wiggle your pencils into place and they still stay on.

Taped all of my pencils on except 2. Then I learned that while there was room for 2 pencils at the bottom there was only room for 1 and a half at the top. Apparently the silver tops are just a bit wider than the bottoms. I considered leaving the one pencil stuck out a bit at the top (it was really close) but I thought maybe I could pinch the tops enough with a pair of pliers to make them fit. Eureka, I'm a genius, it worked.
More double sided Skor Tape to the beautiful polka dot ribbon from my LSS and then wrapped the ribbon tightly around the middle of the pencils. Next time I would move this up just a bit to leave more room for the tag. I used a potato masher to make the bow. I just Googled potato masher bow. The tag was a Silhouette cut file and the image was from Tiddly Inks - Grow a Little Love. I colored her to look like my Kaylee with Prismacolor pencils. On the back I wrote her teacher's thank-you message. I attached it to the pink bow with pink twine. Kaylee picked out the flowers.

Supplies used:
Straight sided vase
4 packages of decorative pencils/12 to a package
1/4" Skor Tape
Pliers
1 metre of ribbon
Tag optional

Her Teacher loved it. And there were 2 classes of Kindergartners (they go all day every other day) and they graduated 23 from Kaylee's class and just as many in the other class. So I think you can agree with me that she deserved a special something along with our thanks!
Here's a picture of my Kindergarten graduate *sigh*:


Tuesday, June 11, 2013

Hip To Be Square Or Rectangular

Welcome all, our challenge this fortnight at Crafting With Dragonflies is to make a box. We have 2 sponsors, QKR Stampede and Sassy Studio Designs, so we will have 2 prize winners and a top 3! Be sure to be a follower, no backlinking and follow the theme so that you will have a chance to win. I look forward to visiting!
My box is a cut file from Silhouette. You can also buy it as an SVG cut file from Lori Whitlock's shop. It is a card holder with sleeve. It holds A2 sized cards, awesome! I cut the box shapes from Kraft paper. Then used Skor Tape to put the boxes together along the perforated folds.

I then cut my Recollections patterned papers, also part of the Silhouette cut file. Ran them through my Xyron and attached them to my boxes.

The cut file also includes this super cool tag that you can attach with brads and the holes for the brads are pre-cut into your box. They do think of everything. I used mirror paper to cut the frame for my tag and white cardstock for where the writing will go. Attached it with 2 small silver brads.
Then I used the print and cut feature of my Silhouette for my image Little Honey's - Princess Aurora Honey from Sassy Studio Designs. I colored her using my Prismacolor pencils. This time I tried to use grey to do some shading afterwards. I felt like it made her look more like she was wearing Cinderella's cleaning dress than Sleeping Beauty's but The Husband said it looked like shading. I attached her with pop dots.


I will make more of these...sometime...in my spare time...well I'll put it on the list anyway ;) I love them because I can put my super embellished cards in there and they won't get squished like they are in the box I am currently putting my cards in. Thanks for stopping by, be sure to check out my teamies Hip creations (see how I brought us back around to my title?!?). Have a great week!
I'd like to share at:
Created With Love Challenges anything goes, closes June 15,
Quirky Crafts more than one fold, closes June 22